How-tos

Access step-by-step repair and maintenance guides to keep your off-road equipment running smoothly with our expert tips!

All

What Is SPN 110 FMI 0 & How to Solve It?
Nov 9, 2026

What Is SPN 110 FMI 0 & How to Solve It?

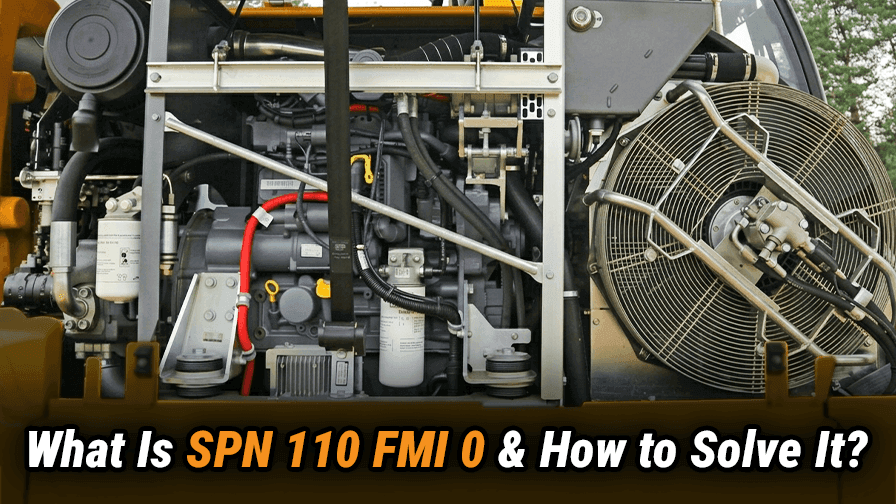
SPN 110 FMI 0. This is a critical engine protection code. The ECM has confirmed coolant temperature above the safe operating ceiling. The red STOP lamp is on. Torque is already being pulled. A timed shutdown is seconds away. On construction and ag machines, the sensor is almost never the real cause. Blocked cooling cores. A tired fan drive. Degraded coolant. Those are the usual ones. Once the code sets, three things happen in sequence. The red stop lamp lights right away. Peak torque is cut and keeps dropping the longer the condition stays active. Maximum engine speed is capped. Shutdown is enabled in calibration. The lamp starts flashing. About 30 seconds later, the engine stops. That gap is a courtesy. Not a diagnostic window. Use it to clear the machine from traffic. Or get the attachment out of the cut. Do not use it to keep working. Different engine families publish the same condition under their own fault numbers. Cummins ISB, ISC, ISL, QSB, and QSX use 151. Detroit DD13, DD15, and DD16 use EEC 61 or 110-0. Navistar MaxxForce, N13, and A26 use SPN 110 FMI 0 natively. Cat C-series use E361 or CID 110-FMI 0 depending on tier. John Deere PowerTech uses 110.00. Owners often see several SPN 110 codes in the same session. Each FMI points somewhere different. FMI 0 means temperature above critical limit, shutdown pending. FMI 3 means signal voltage too high, usually an open circuit or disconnected sensor. FMI 4 means signal voltage too low, usually a short to ground. FMI 15 means temperature high, warning level only, no derate yet. FMI 16 means temperature high, moderate severity, derate active. If FMI 15 or 16 showed up first and you kept working, FMI 0 is the predictable next step.

Kubota Ignition Switch Diagram Explained
Nov 9, 2026

Kubota Ignition Switch Diagram Explained

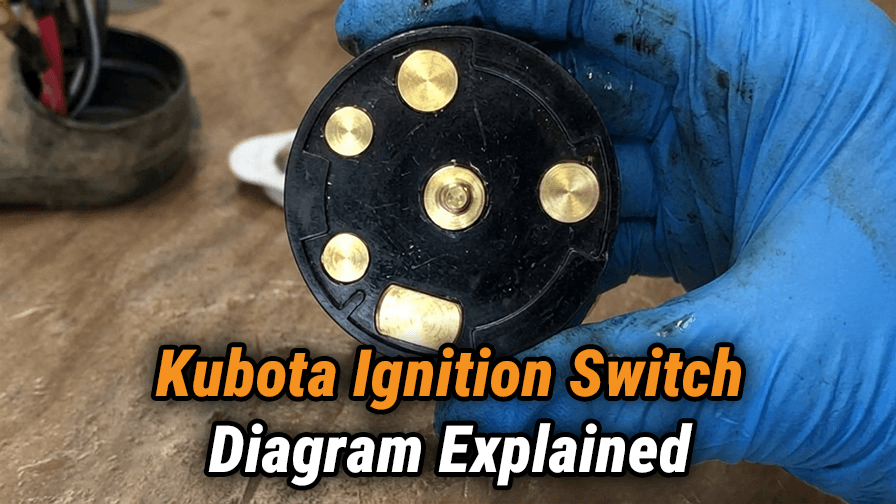
Master your tractor’s electrical system with our Kubota ignition switch diagram. This guide breaks down terminal functions, standard wire colors, common failure symptoms, and easy steps to replace a faulty switch yourself.

Ford Starter Solenoid Wiring Diagram: A Complete Guide 2026
Nov 9, 2026

Ford Starter Solenoid Wiring Diagram: A Complete Guide 2026

This starter solenoid acts as a heavy-duty switch controlled by a low-current circuit. It features two large copper posts for high-current power transfer, and two smaller threaded terminals for control and ignition assistance. The solenoid itself is grounded through its metal mounting bracket. Here is a detailed breakdown of each terminal and where its wire goes:

6 Prong Ignition Switch Wiring Diagram: A Complete Guide 2026
Nov 8, 2026

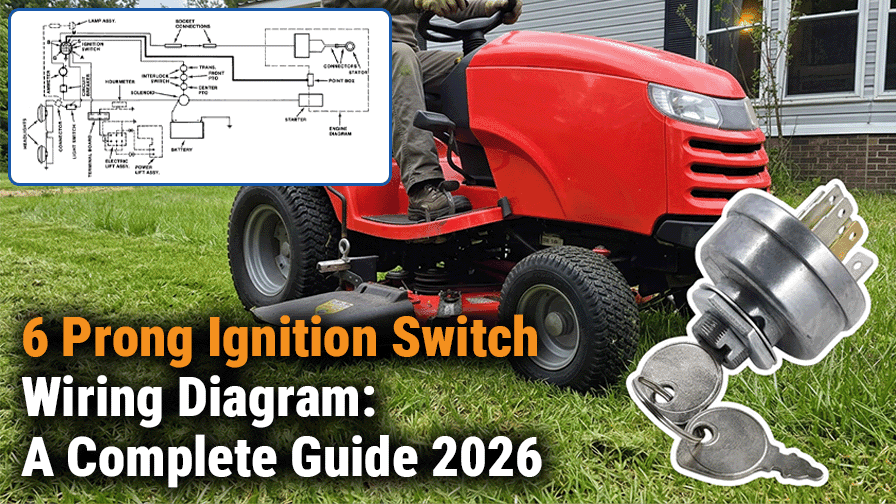
6 Prong Ignition Switch Wiring Diagram: A Complete Guide 2026

If you install a Battery Ignition Switch on a Magneto engine (like a Briggs & Stratton), turning the key to “RUN” will send 12V battery power directly down the M (Magneto) wire. This will instantly melt your magneto coil under the engine shroud, turning a $15 switch replacement into a $200+ engine teardown. Always buy a switch explicitly labeled “For Magneto Ignition”.

Harley Rake for Skid Steer: How It Works
Nov 7, 2026

Harley Rake for Skid Steer: How It Works

Harley rake for skid steer. A Harley rake finish-grades a yard in one pass. By hand, that is hours of work. It is why so many skid steers keep one mounted. There is a catch. Teeth wear. Bearings wear. So does the drive motor. All on a schedule. Miss the early signs and a cheap parts swap becomes a lost week. The drum turns backwards against the way the machine is travelling. That counter-rotation is the whole trick. As it turns, it lifts dirt, cuts into packed ground, and throws rocks and debris off to the side. Power comes from the skid steer’s auxiliary hydraulics. Oil flows through the quick-connect couplers into a motor mounted above the drum. That motor spins the drum through a chain drive or direct drive setup. The drum rotates at around 200 rpm. Carbide teeth strike the soil and break it loose. Angled side plates channel debris into a windrow. Two gauge wheels ride at the front and set how deep the drum cuts. Lift them and the drum drops in deeper. Drop them and you get a light finishing pass. Most operators start about an inch down, run one pass, then go another inch deeper only if the ground is still rough.

Kohler 22 HP Engine Oil Capacity Chart: A Complete Guide 2026
Nov 7, 2026

Kohler 22 HP Engine Oil Capacity Chart: A Complete Guide 2026

Choosing the right oil is as important as knowing how much oil the engine holds. Kohler recommends using SAE 10W-30 oil for general-purpose use in temperatures ranging from 0°F to 100°F (-18°C to 38°C). If you live in extremely hot conditions or need heavy-duty use, SAE 30 oil may be more appropriate, as it offers better protection in higher temperatures. Conversely, for colder climates, 5W-30 oil is often recommended due to its superior cold-start properties.

Where to Buy Beet Juice for Tractor Tires?
Nov 6, 2026

Where to Buy Beet Juice for Tractor Tires?

Beet juice for tractor tires is a non-toxic liquid ballast that adds crucial weight for traction without rusting your rims. This guide covers where to buy it, expected costs, and step-by-step DIY filling instructions.

Kohler Ignition Switch Wiring Diagram: A Complete Guide 2026
Nov 6, 2026

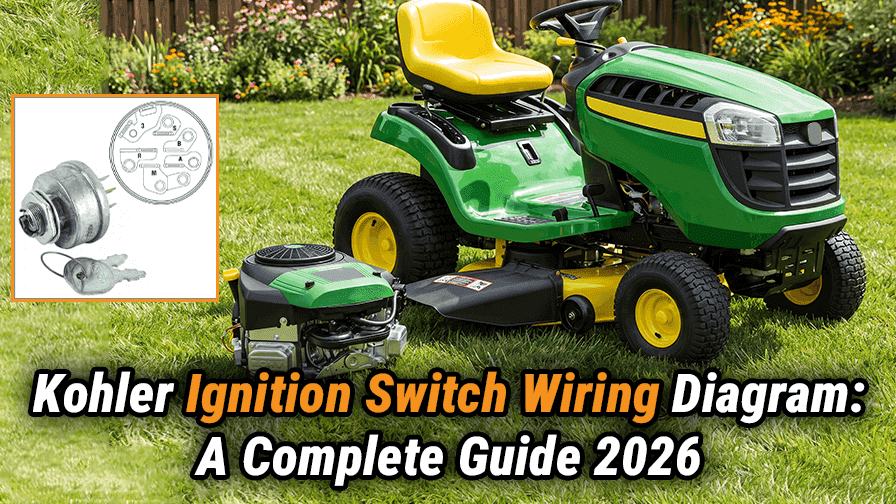
Kohler Ignition Switch Wiring Diagram: A Complete Guide 2026

When your Kohler engine (like Command CV17) refuses to start, or when you turn the key and hear nothing but dead silence, it’s easy to blame the ignition switch immediately. However, before you buy a replacement and start wiring, it’s essential to understand how your Kohler engine’s system actually works. This helps save you a lot of money by avoiding the wrong parts and costly engine repairs due to miswiring.

Briggs & Stratton Choke & Governor Linkage Explained 2026
Nov 5, 2026

Briggs & Stratton Choke & Governor Linkage Explained 2026

It is extremely easy to mix up the Choke Link and the Throttle Link during reassembly. If your engine is running wide open or won’t respond to the throttle, refer to our Briggs and Stratton Throttle Linkage Diagram to ensure your rods are connected to the correct holes. If your spring is stretched, rusted, or hooked into the wrong hole, your engine will experience severe “surging” (revving up and down). Learn how to install the spring in our Briggs and Stratton Governor Spring Diagram Guide.

Troy-Bilt Carburetor Diagram: A Complete Guide
Nov 4, 2026

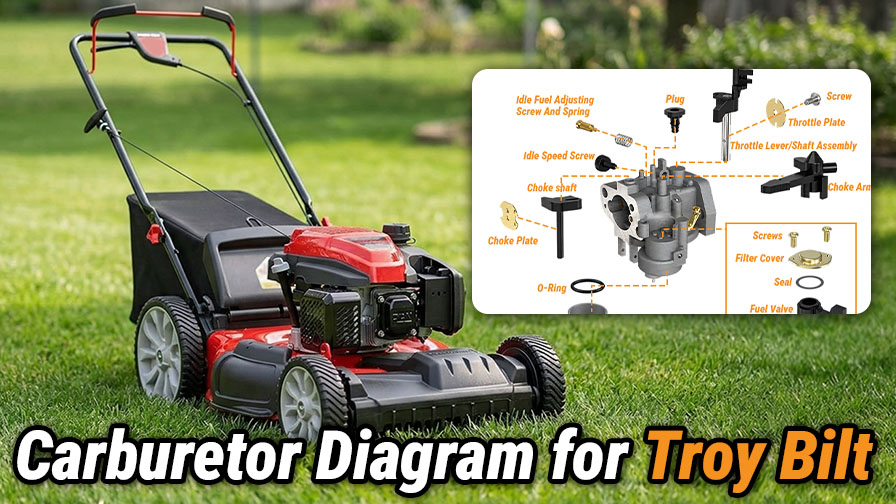
Troy-Bilt Carburetor Diagram: A Complete Guide

Troy-Bilt carburetor diagram. Linkage trips up more owners than anything else on the carburetor. Snap a photo before you pull a single rod. That one habit saves an hour of guessing later. On the Pony 42 and Bronco, three rods matter. The governor rod connects the governor arm to the throttle lever. The governor spring pulls the throttle open against engine load. The choke link runs from the air box slide to the choke arm. Make sure the governor spring sits in the right hole on the throttle lever. Shift it one hole and the governed RPM changes by 200 to 400. That’s enough to cause deck belt slip or blades that lose speed. Walk-behind mowers use a simpler two-rod setup. The Z-bend end sits in the throttle plate hole. The hook end rides in the governor arm slot. A single return spring links the governor arm to the carburetor body.

How to Bench Test a Starter?
Nov 4, 2026

How to Bench Test a Starter?

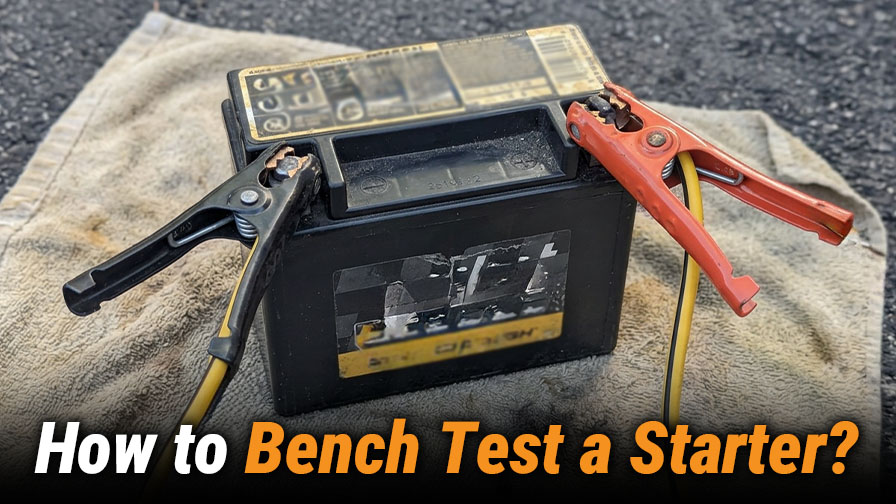
Learn how to bench test a starter using a 12V battery and jumper cables. This step-by-step guide helps you check the solenoid, diagnose cranking failures, and ensure your issue isn’t just a simple serpentine belt noise.

Husqvarna Chainsaw Chain Direction: A Complete Guide 2026
Nov 4, 2026

Husqvarna Chainsaw Chain Direction: A Complete Guide 2026

Did you get your Husqvarna chainsaw? And you are ready to cut wood, but oops, your chain is just troubling and budging. Commonly, the best chainsaw chain moves in the forward direction on the bar. The golden rule is to make sure the cutter faces forward on the top of the bar. However, many beginners like you also place the chain’s backward side on the bar (totally wrong). This could lead to poor cutting performance, premature wear and tear and even safety risks. So, setting the chainsaw chain in the right direction is essential to avoid mishaps or injuries. Let’s dive more to find which way a chain goes on your Husqvarna chainsaw.